Beginners Tips
What Types of Tools to Use
Dec
I mentioned something about Tools…
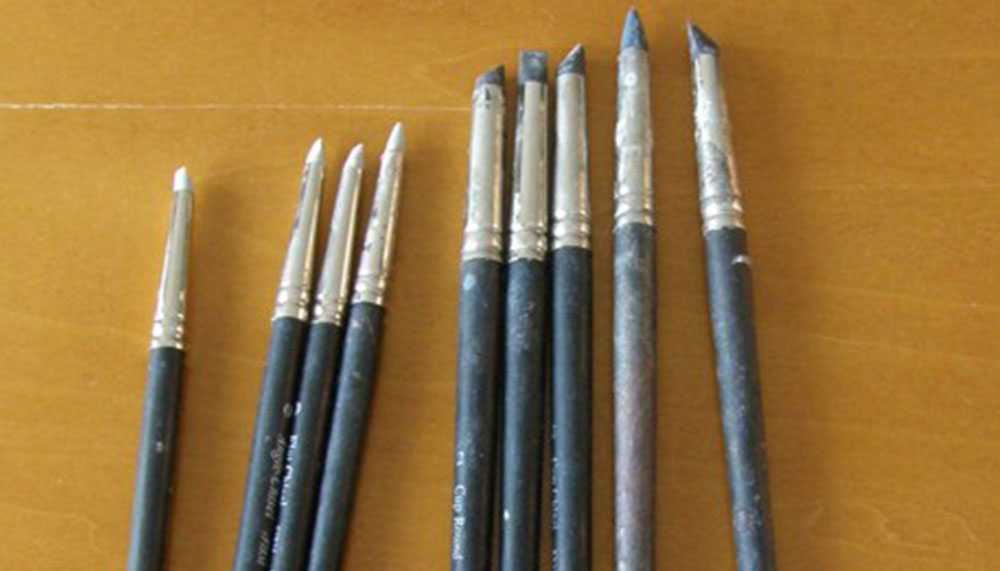
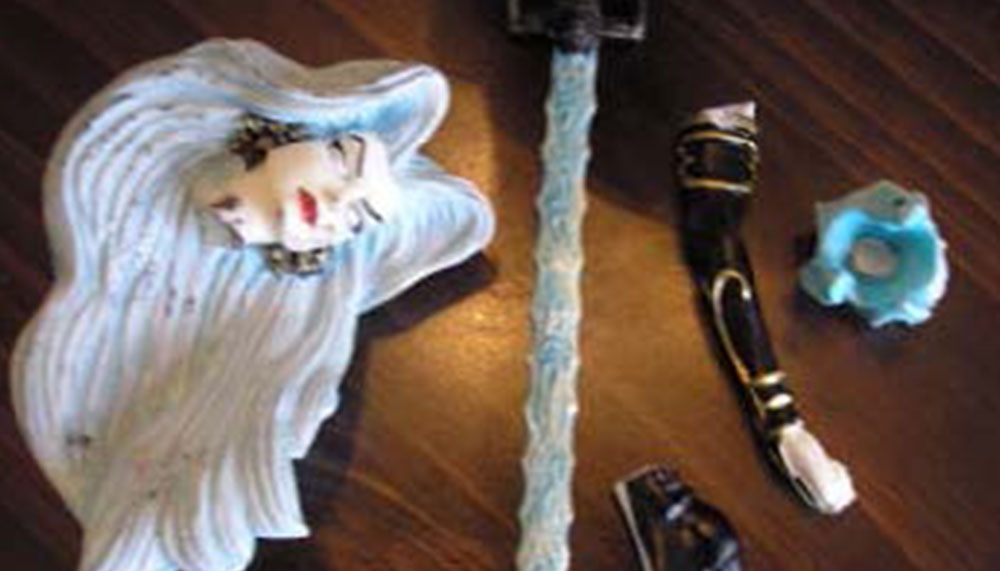
I talked about various kinds of tools. Pictured; are the silicone rubber tipped tools that I think everyone should have when working with Aves®. They have different nibs on the ends of various shapes. I prefer to use the conical tip, or the bladed tip for scribing wrinkles in skin. I also use the silicone tools, when the Apoxie® Sculpt is fresh. Meaning that I would sculpt with these tools for the first hour or so that the Apoxie® Sculpt is curing. At the 2 hour mark, they’re pretty ineffective.
These tools are a part of a standard set you can buy at any hobby store. I recommend these to people, because they have a myriad of different shapes, and sizes. They’re all pretty decent tools, and I have given the uses I prefer them for. 1. The Heavy Flat Spatula, is good for pushing around Apoxie at the 2 hour makr. It’s pretty rigid. 2. Spade- I use it for doing the corners of eyes, and for Making striations in clothing or fabric. 3. Spade and Blade. I use this tool for smoothing out Apoxie® in those hard to reach corners, at the 2 hour mark. 4. Semi Flexible Spatula. Good for moving Apoxie® Sculpt around, but its key use is large areas that need to be made smooth. 5. Flexible Spatula. I use this for scribing lines that need to be straight over large surfaces. 6. Double ended mini-spatula. These are good for pushing eyelids into place, and moving Apoxie® Sculpt around at the 2 hour mark for high detail. I also use it for scribing wrinkles at the 2 hour plus mark.
This is my core set that I cannot work without.
1. The large Flat Rigid Spatula. Good for large smooth surfaces.
2. Spade, stated above.
3. Spade and Blade, same as above.
4. Pick. On each end, is a round gouge, and a spade gouge. I use this tool to clean scribed lines after the material is cured.
5. Scribe. A long pointy needle tool, that I use for scribing lines in Apoxie® at the 1 and 2 hour mark. My only problem with this tool, is depth. You really have to be good with this tool to keep your lines consistent.
6. Mini-Flat. I use this tool for mechanical looking corners, cleaning up corners that are a little too round at the 2-3 hr. mark.
7. Scoop Point. I have no idea what this tool is, but it’s what I call it. I use this tool for scribing lines in hard to reach areas, as well as use the scoop on the other end for doing folds in clothing.
8. Ordinary horsehair paintbrushes. I use these to blend, and smooth out Apoxie® Sculpt. I use these before the Apoxie® has had a chance to begin the curing process. Meaning I use these in conjunction with the Aves® Safety Solvent, in the first 15 to 30 minutes.
One word of advice when using brushes. Use brushes that you can afford to throw away unless you are going to be able to clean them off immediately after use (before it cures) with Aves® Safety Solvent. Once Apoxie® Sculpt has cured in a brush, that brush is junk. I buy these by the bag full at the craft store. You can use plastic brushes, but I prefer the cheap horse hair, because I get better range of smoothness.
The thing about using plastic tools, or wooden tools, is that over time they break down. Metal tools do not. I use metal tools, and if you’re serious about working with Apoxie® Sculpt long term, you should too.

Best Products Id seen in quote some time. Id glady buy this Product. Will be sending in my order very soon.
I have been using polymer clay and have just been introduced to your air drying clay.
I have read that you have limited work time…somewhere around 10 min. I want to make small tiles with texture stamps on them. Do texture stamps work on this clay?
I would like to use my pasta press to get an even thickness of my tiles. Will this work for this clay? I am happy to mix by hand first if that is best. Lastly what colors does the clay come in?