
Tutorials
Hints and Tips

Dec
Subject: Repairing and Coloring Antlers
Author: Larry Reese, Wildlife Artistry Taxidermy
E-Mail: larry@wildlifeartistry.com
After repairing antlers I have always tried to blend/paint the repair to match the original antler. I was never satisfied with the results so I began to experiment until I developed a method I like which would give me consistent, lifelike results.
If you do reproduction antlers, repair work on mice-eaten sheds or have to repair broken antlers, etc. here is something I think you will like to try:
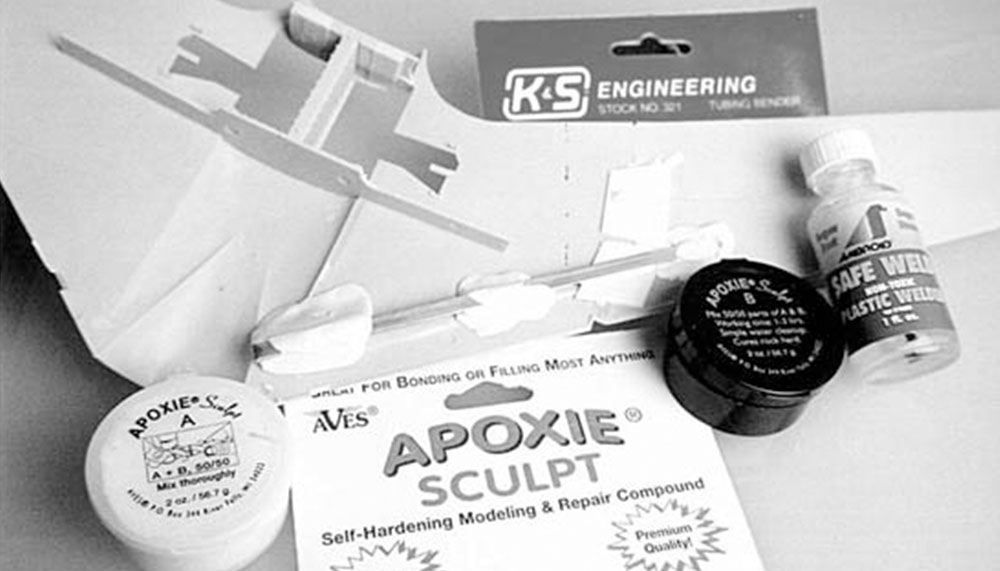
I repair my antlers using Apoxie Sculpt (or your favorite epoxy). Depending on the repair job I may drill a hole into the antler, glue in a wire and then build around the wire to the desired shape. An alternate method is to make a cast of another antler tine and attach it to the main beam using wire and epoxy. After sanding a smooth transition I start to paint and stain as follows:
The first thing I do is use electrical tape to go around the base of the antler burr and masking tape over the rest of the skull. Now here is the trick I stumbled across while searching in the local hobby store. I was in the paint section, picking up some high gloss, etc., and saw this stuff called “Make it Suede!” made by Krylon. The lid was painted with this stuff and I liked the soft brushed feel of the finish. I figured I would give this a try so I picked a bone color called 1240 BERBER. I have established great results by spraying the entire antler with this 1240 BERBER “Suede” ( I like to do two coats). After it is completely dry I start to apply my antler stain. I like to build my coats up slowly to get the color I want and, if needed, I will lightly hit the high spots with some 000 steel wool. Once you are completely satisfied you will need to seal it off. I like to use 2 coats of Krylon 1311.
The “Suede 1240 BERBER” gives the antler a very soft textured feel and look. When completed properly the antler looks as real as you can get, your customer will never know where the repair was. Give this a try I think you will like the results.
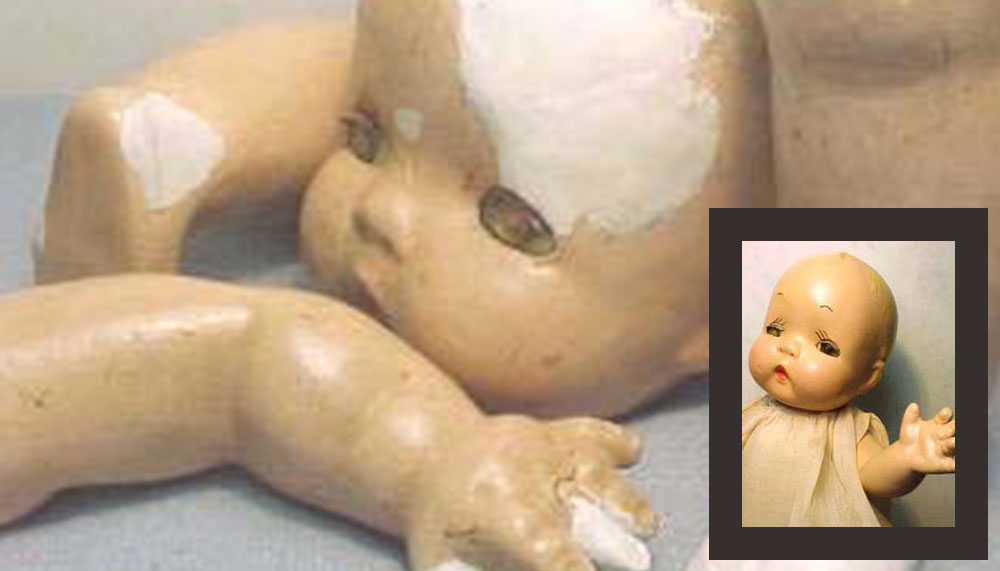
The above picture inspired me to do this article. This rack was from a dead deer that was found the following year. It had multiple tines broken, was eaten up by mice and one side was in the marsh mud and was severely stained. Plaque by Walnut Creek Hardwood
TESTIMONY
Larry,
I read your method of staining deer antlers using the “Make it Suede” product. Last summer I had someone bring in 2 racks that had been severely damaged in a house fire about 15 years ago. He hung on to the racks in hope that they could be salvaged. These racks were jet black and the antler tips were burnt off. There were severe cracks in the beams from the heat. I told the guy I would see what I could do and they have been sitting in the corner ever since. I really didn’t know where to begin. I saw your method on your website and decided to give it a try. I repaired the damaged parts with Apoxie Sculpt and then spray painted the rack a bone color. Then I put on the Make it Suede – Berber. After it dried. I began to wipe some antler stain and wood stain until I got the right color. I was impressed. If you stand 5 feet away from the racks, you would never know they were painted.
Thanks for the tip!!!
Bruce Norton, Norton’s Lost Arrow Taxidermy
Where can I find the Suede 1240 BERBER? I can’t find it anywhere